Tuesday, July 26, 2016

I Am A Published Author! And Homemade Chocolate Cherry Cups

Before we get into the delicious recipe, I have some exciting non-food related news to share! 

Three years ago when I graduated high school, I chose to skip college, as I told everyone that I wanted to pursue a career in writing.

I didn't really have any idea what I was doing back then, I just knew that I enjoyed writing. And it was something that I had to do with my life. So I have done it. I am earning a living working as a copywriter online... but that's not all. 

My sister and I had been writing novels for some time before my graduation, and we continued to write them in the following years. The more we write, the more my passion for writing grows. There have been frustrating times of submitting books to a publisher only to hear back from them with a negative response, but my sister and I kept trusting that everything would work out in God's timing. And it has.

I am so excited to announce that eLectio Publishing has chosen to publish our book, No Longer Broken. My sister and I are now published authors. No Longer Broken is available online today!

No Longer Broken is a Christian fiction novel about the struggles that two brothers face as they reconnect after fifteen years apart. You can read the whole blurb here.

If you have a minute, please check out my author websiteFacebook page and Twitter. And, if you love reading (or you know someone who does), and if the book sounds interesting to you, please consider buying it and giving it a read. It is for sale through the publisher, on Amazon and and for Nook.

Sorry (not sorry) for the long self promotion. Ha. On to the recipe now!

If you love store bought chocolate covered cherries, then it is time that you tried making some of your own! These homemade chocolate cherry cups couldn't be any easier or more delicious.

Make these chocolate cherry cups any time you are looking to impress someone. The one you are trying to impress will be awed by what you have done, and they will love the sweet treat that you give them. The chocolate on the outside is so decadent, and when you bite inside your senses will be filled as you taste the sweet filling and delicious cherry.


Chocolate Cherry Cups
  • 2 Tablespoons Butter, softened
  • 1 Cup Powdered Sugar
  • 1/4 teaspoon Vanilla Extract
  • 2 teaspoons Milk or Water
  • 2 teaspoons Juice from Cherries
  • 12 Maraschino Cherries, drained
  • 1 Cup Semi-Sweet or Dark Chocolate
  1. Melt about 3/4 cup chocolate. Line a mini muffin tin with 12 wrappers. Divide the chocolate between them and use your (clean) finger to spread around the bottoms and sides.
  2. Place chocolate cups in the fridge until firm.
  3. In a medium size bowl, combine softened butter, powdered sugar, vanilla extract, milk or water and cherry juice. Mix until smooth.
  4. Take the chocolate cups from the fridge and add a cherry to each. Add a bit of the cream mixture on top. Stick into the fridge for a bit.
  5. Melt remaining chocolate. Spread onto the tops of each of the cherry cups. Refrigerate until firm.
  6. Remove wrappers from cherry cups and keep in the fridge.

Enjoy!
-Bethany

Tuesday, July 19, 2016

Chocolate Brownie and Peanut Butter Ice Cream

Do you love brownies? Do you love peanut butter? Do you love ice cream? All three of those delicious foods come together in this Chocolate Brownie and Peanut Butter Ice Cream.

This is a gluten free dessert, and it is rich, chocolately, and perfect for cooling you down on a warm day. And we're supposed to have a lot of those coming up. So make a batch of this ice cream, crank up the AC, and stay cool.

Peanut butter/chocolate pieces...

And brownie chunks...

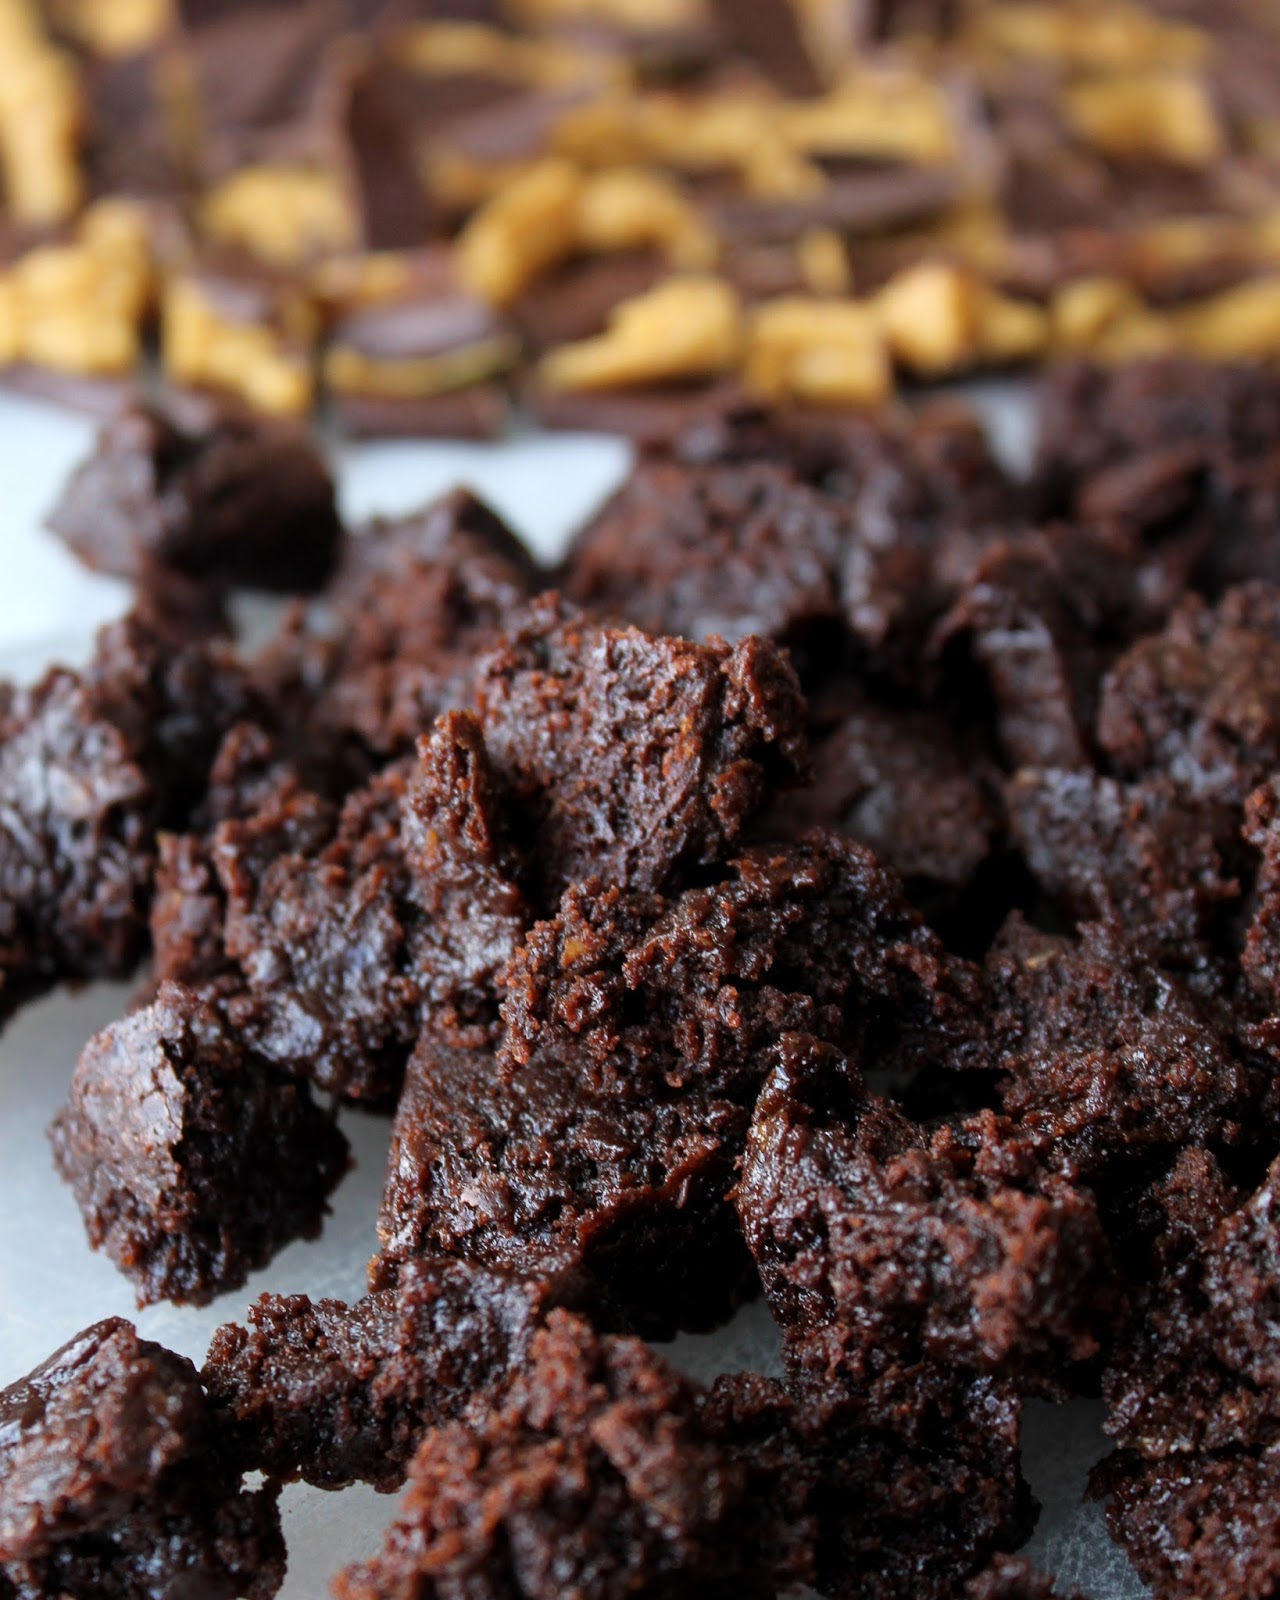
In a delicious, rich and creamy ice cream...

All I can say is "yum."


Chocolate Brownie and Peanut Butter Ice Cream
  1. Melt 1/4 cup chocolate chips and spread into a very thin layer onto waxed paper. Refrigerate until firm.
  2. In a small bowl combine the peanut butter, powdered sugar, butter and vanilla extract (and a touch of milk, if too thick). Spread out onto firmed chocolate.
  3. Melt the rest of the chocolate chips and spread over the peanut butter mixture. Refrigerate once more. Once firm, chop into small pieces.
  4. Chop brownies into small pieces.
  5. Make your ice cream and fold in the peanut butter/chocolate and brownie pieces.
  6. Freeze for at least 4 hours before serving.
Hope it keeps you cool!
-Bethany

Tuesday, July 12, 2016

21 Gluten Free Cookie Recipes That Will Change Your Life

Twenty-one gluten free cookie recipes to get you through life's ups and downs. From chocolate lovers to those who appreciate a good sugar cookie, there is something for everyone on this list - and not a hint of gluten here!


To think that before I started baking gluten free I wasn't even that big of a fan of cookies. What was I thinking? Cookies have possibly become my favorite sweet. Not saying that I don't still love bars, cakes, cupcakes, candies, and all of the other good sweets out there. I do. But all of these gluten free cookies have stolen my heart.

Take a look at all of the recipes, try a few (or all) of them out, and they will steal your heart, too! Who knew that gluten free baking could be this tasty?


You don't have to sacrifice eating good food just because you are gluten free. Try some of these gluten free cookies, and they will change your life. 

Enjoy!
-Bethany


Wednesday, July 6, 2016

Gluten Free Mini Birthday Cake Donut Muffins

Donut muffins with sprinkles. Does it get any more kid-friendly (and kid-at-heart friendly) than this?

I couldn't wait to share these with you, so I'm putting the recipe on the blog now.

Try these moist, little donut muffins, and you will want to make them for breakfast every day! They are delicious little bites, and they are perfect for sharing with your friends or family, or eating all by yourself.


 Gluten Free Mini Birthday Cake Donut Muffins
  • 1 Flax-Egg (directions on side of blog)
  • 2 Tablespoons Butter, Softened
  • 2 Tablespoons Cup Oil
  • 1/4 Cup Sugar
  • 1/4 Cup Brown Sugar
  • 1/2 teaspoon Vanilla Extract
  • 1 Cup White Rice Flour
  • 1/3 Cup Cornstarch
  • 3/4 teaspoon Baking Powder
  • 1/8 teaspoon Baking Soda
  • 1/2 teaspoon Xanthan Gum
  • 1/4 teaspoon Salt
  • 1/2 Cup Milk
  • Sprinkles
  1. Preheat oven to 425 degrees.
  2. Prepare flax-eggs (directions on side of blog.)
  3. In a medium bowl, combine rice flour, cornstarch, baking powder, baking soda, xanthan gum and salt with a whisk.
  4. In a large bowl, combine the butter, oil, and sugars. Beat with a wooden spoon.
  5. Beat in half of the flax-egg. Then add the other half and stir in again.
  6. Add the vanilla and beat once more.
  7. Add one third of the flour mixture and stir just until combed, being careful not to over-mix. Add half of the milk and do the same. Repeat, ending with the flour and being careful not to mix too much.
  8. Fold in sprinkles.
  9. Scoop into a mini muffin tin that is greased or lined with 24 paper wrappers. Bake for 10 to 12 minutes.
  10. Remove from oven, cool, then prepare a simple glaze (recipe for the glaze here) and coat muffins (removing wrappers first if you used them.) Dip a second time. Allow to dry, then eat.
Enjoy!
-Bethany

Monday, July 4, 2016

Gluten Free Butterscotch And White Chocolate Chip Cookies

These chewy cookies have both butterscotch chips and white chocolate chips, making them twice as good.

Happy Independence Day, everyone!

I can't believe that it's the 4th already. Where does time go?
What have you been up to for the 4th?

Back to the recipe...
My nephew loves both of these kinds of chips, even more so than chocolate chips, so I had to make these for him. Give the cookies a try, and you will fall in love with the flavors, too!


Gluten Free Butterscotch And White Chocolate Chip Cookies
  • 1/2 Cup Unsalted Butter, softened
  • 3/4 Cup Brown Sugar
  • 1/4 cup White Sugar
  • 1 Flax-Egg (1 Tablespoon Flaxseed Meal and 3 Tablespoons Water)
  • 1 tsp Vanilla Extract
  • 1 Cup plus 2 Tablespoons Rice Flour
  • 1/2 Cup Cornstarch
  • 1 teaspoon Xanthan Gum
  • 1 teaspoon Baking Powder
  • 1/2 teaspoon Baking Soda
  • 1/4 teaspoon Salt
  • 1/2 Cup White Chocolate Chips
  • 1/2 Cup Butterscotch Chips
  1. Prepare flax-egg (see directions on side of blog.)
  2. Preheat oven to 325 degrees.
  3. Meanwhile, combine rice flour, cornstarch, xanthan gum, baking powder, baking soda and salt in a medium size bowl. Whisk to combine.
  4. In a separate bowl, beat together the softened butter and sugars.
  5. Add to the butter/sugar mixture the flax-egg and the vanilla and combine.
  6. Dump the flour mixture into the wet ingredients and beat until combined. Stir in chocolate chips and caramel bits.
  7. Scoop out onto baking sheet and bake for 8-10 minutes.
Happy 4th of July! I hope you're enjoying lots of good food and good company today.
-Bethany