Showing posts with label candies. Show all posts

Monday, December 11, 2017

Chocolate Scotcheroo Fudge

Love all things chocolate and peanut butter? This chocolate scotcheroo fudge combines both of those amazing flavors!

I love making fudge at Christmastime. I am always trying to come up with new recipes for it, and this one is a real hit! I can't wait to share it with all of my family on Christmas day.


Chocolate Scotcheroo Fudge
  • 1 Tablespoons Sugar
  • 1 Tablespoons Corn Syrup
  • 1 Tablespoons Peanut Butter
  • 6 Tablespoons Crispy Rice Cereal (gluten free, of course)
  • 1 Cup Chocolate Chips
  • 1/2 Cup Butterscotch Chips (make sure they are gluten free)
  • 1/2 Can Sweetened Condensed Milk
  1. Line a loaf pan with parchment paper or lightly greased foil.
  2. In a microwave safe bowl, combine sugar and corn syrup. Microwave 10 seconds, stir, and then 10 seconds more, stir, and 10 seconds more, or until sugar granules have disappeared.
  3. Stir in peanut butter.
  4. Stir in cereal. Set aside.
  5. In another microwave safe bowl, combine chocolate chips and sweetened condensed milk. Microwave in 20 second intervals, stirring, until melted.
  6. Add a dash of salt and stir.
  7. Pour half of the fudge into prepared loaf pan and spread out.
  8. Add the scotcheroo mixture on top, pressing out evenly.
  9. Pour over the rest of the fudge and spread until smooth.
  10. Place in the refrigerator until solid. Then cut, eat, and store leftovers in a covered container in the fridge.
Enjoy!
-Bethany

Monday, October 9, 2017

Chocolate Brownie Peanut Butter Cups

These chocolate brownie peanut butter cups are easy to make, full of chocolate and peanut butter flavor, and are the perfect treat for any time of year!

Whether you like making treats like this for Christmas, for parties, or just for yourself, you are going to have fun when you make these little cups. I love using my mini muffin tin for all kinds of treats, and you can find more of them by clicking here.

Anyone who is a big fan of the classic chocolate/peanut butter combo will love these little treats!


Easy Chocolate Cake Cups
  • 1 1/2 Cup Chocolate
  • 3 Tablespoons Peanut butter or soybutter
  • 1/6 of a pan of Brownies, or one large Brownie
  1. Line a mini muffin tin with 12 paper wrappers.
  2. In a microwave safe bowl, melt the chocolate in 20 second intervals, stirring.
  3. Divide half of the chocolate between all 12 wrappers, spreading it around up the sides of the wrappers. Chill until solid.
  4. Melt the peanut butter. Add the brownie to it and mix until combined.
  5. Add a bit of the brownie/peanut butter mixture to each of the chocolate cups, pressing down.
  6. Top with remaining chocolate.
  7. Chill until solid and consume. Keep leftover cups in the fridge.
Enjoy!
-Bethany

Monday, July 31, 2017

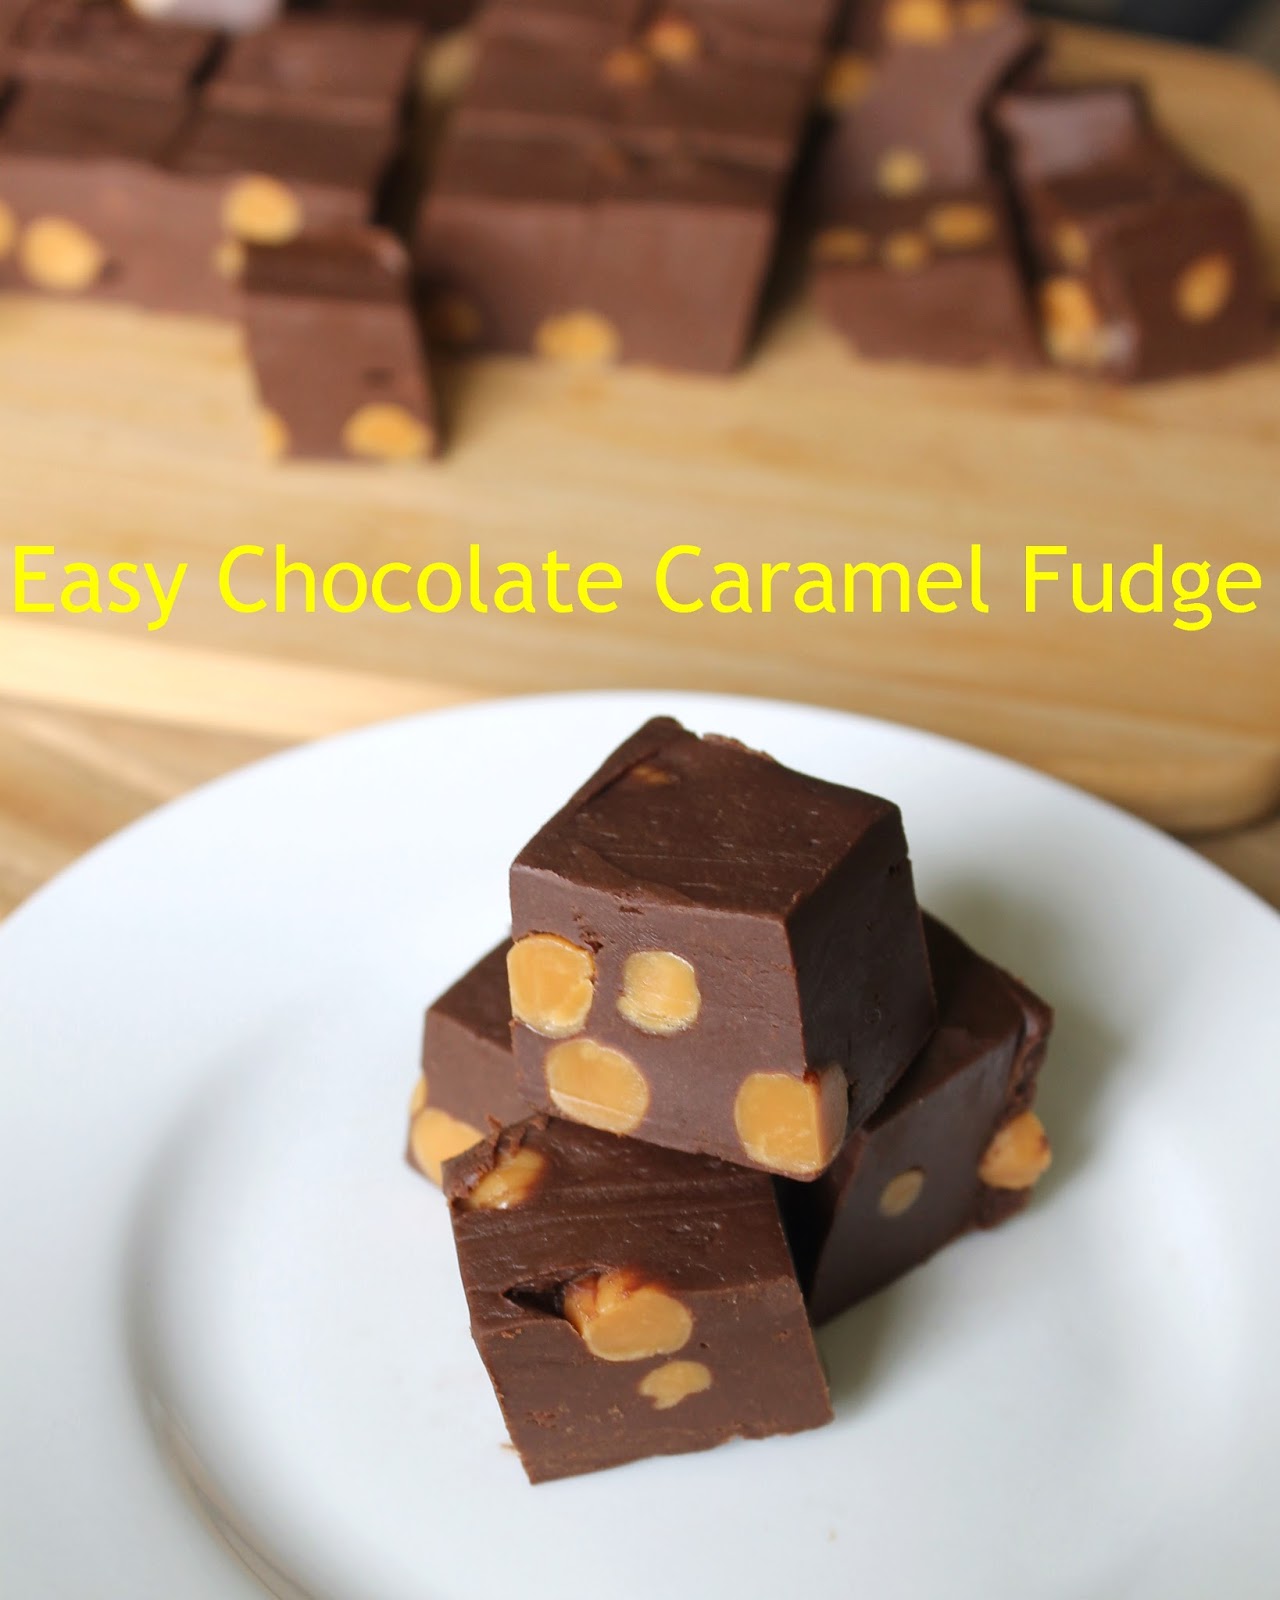
Easy Chocolate Caramel Fudge

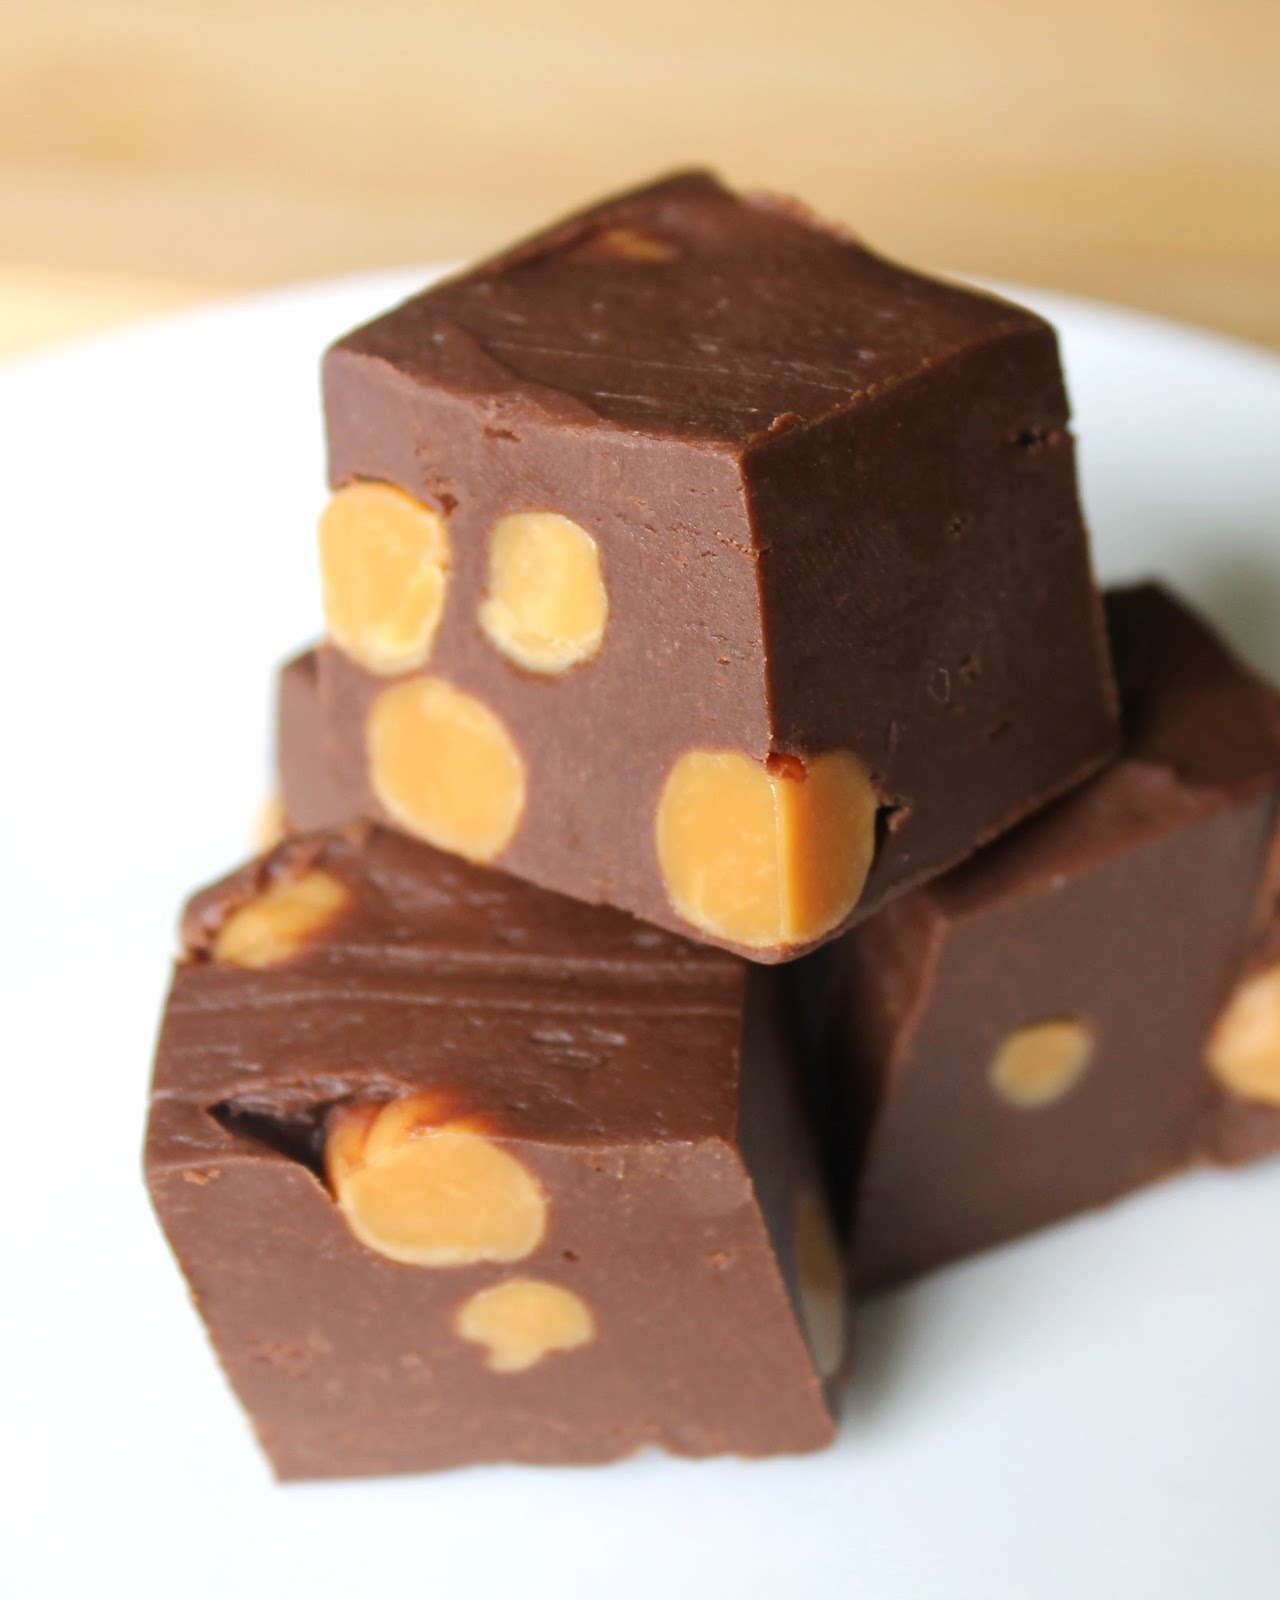
Chocolate and caramel are the perfect pair, and they come together in this delicious, easy-to-make treat! This easy chocolate caramel fudge takes only a few ingredients and is simple to put together!

Fudge is one of my all-time favorite treats. It is so simple to make, and there are endless flavor combinations. If you love fudge, too, then you should check out my other recipes for it.

This fudge is a rich chocolate with caramel bits thrown in. It is great for parties, for the holidays, or for eating all alone. It is so simple to make and only takes a few minutes to put together, making it easy to enjoy for any occasion!


Easy Chocolate Caramel Fudge
  • 1 1/2 Cups Chocolate Chips
  • 1/2 Can Sweetened Condensed Milk
  • 1/2 teaspoon Vanilla Extract
  • 1/4 Cup Caramel Bits (NOTE: they are not labeled gluten free. Use under own discretion.)
  • Dash of Salt
  1. Line a loaf pan with parchment paper or lightly greased foil.
  2. In a microwave safe bowl, combine chocolate chips and sweetened condensed milk. Microwave in 20 second intervals, stirring, until melted.
  3. Add the vanilla, caramel bits and dash of salt and stir until combined.
  4. Pour into prepared loaf pan and spread out evenly. 
  5. Place in the refrigerator until hard. Then cut, eat, and store leftovers in a covered container in the fridge.
Enjoy!
-Bethany

Tuesday, July 11, 2017

Easy Chocolate Cake Cups

Love cake and frosting? Try it in a new way in these chocolate coated chocolate cake cups!

These are like a mashup of cake pops and peanut butter cups (without the peanut butter), and they are so, so yummy! Chocolate coats a layer of cake and a layer of frosting. Need I say more?


I'm not using exact measurements for this recipe simply because no measurements are really needed. It will all depend on how much cake versus frosting you want inside of the cups.

Easy Chocolate Cake Cups
  1. Line a mini muffin tin with 12 paper wrappers.
  2. Crumble the cake with your fingers and set aside.
  3. In a microwave safe bowl, melt white chocolate.
  4. Divide half of the chocolate between all 12 wrappers, spreading it around up the sides of the wrappers. Chill until solid.
  5. Take a bit of the cake crumbles and put them inside of each cup, pressing down slightly.
  6. Top cake crumbles with a dab of frosting.
  7. Top the frosting with more chocolate, spreading it evenly over the tops. Sprinkle, if you desire.
  8. Chill until solid and consume. Keep leftover cake cups in the fridge.
Enjoy!
-Bethany

Monday, June 26, 2017

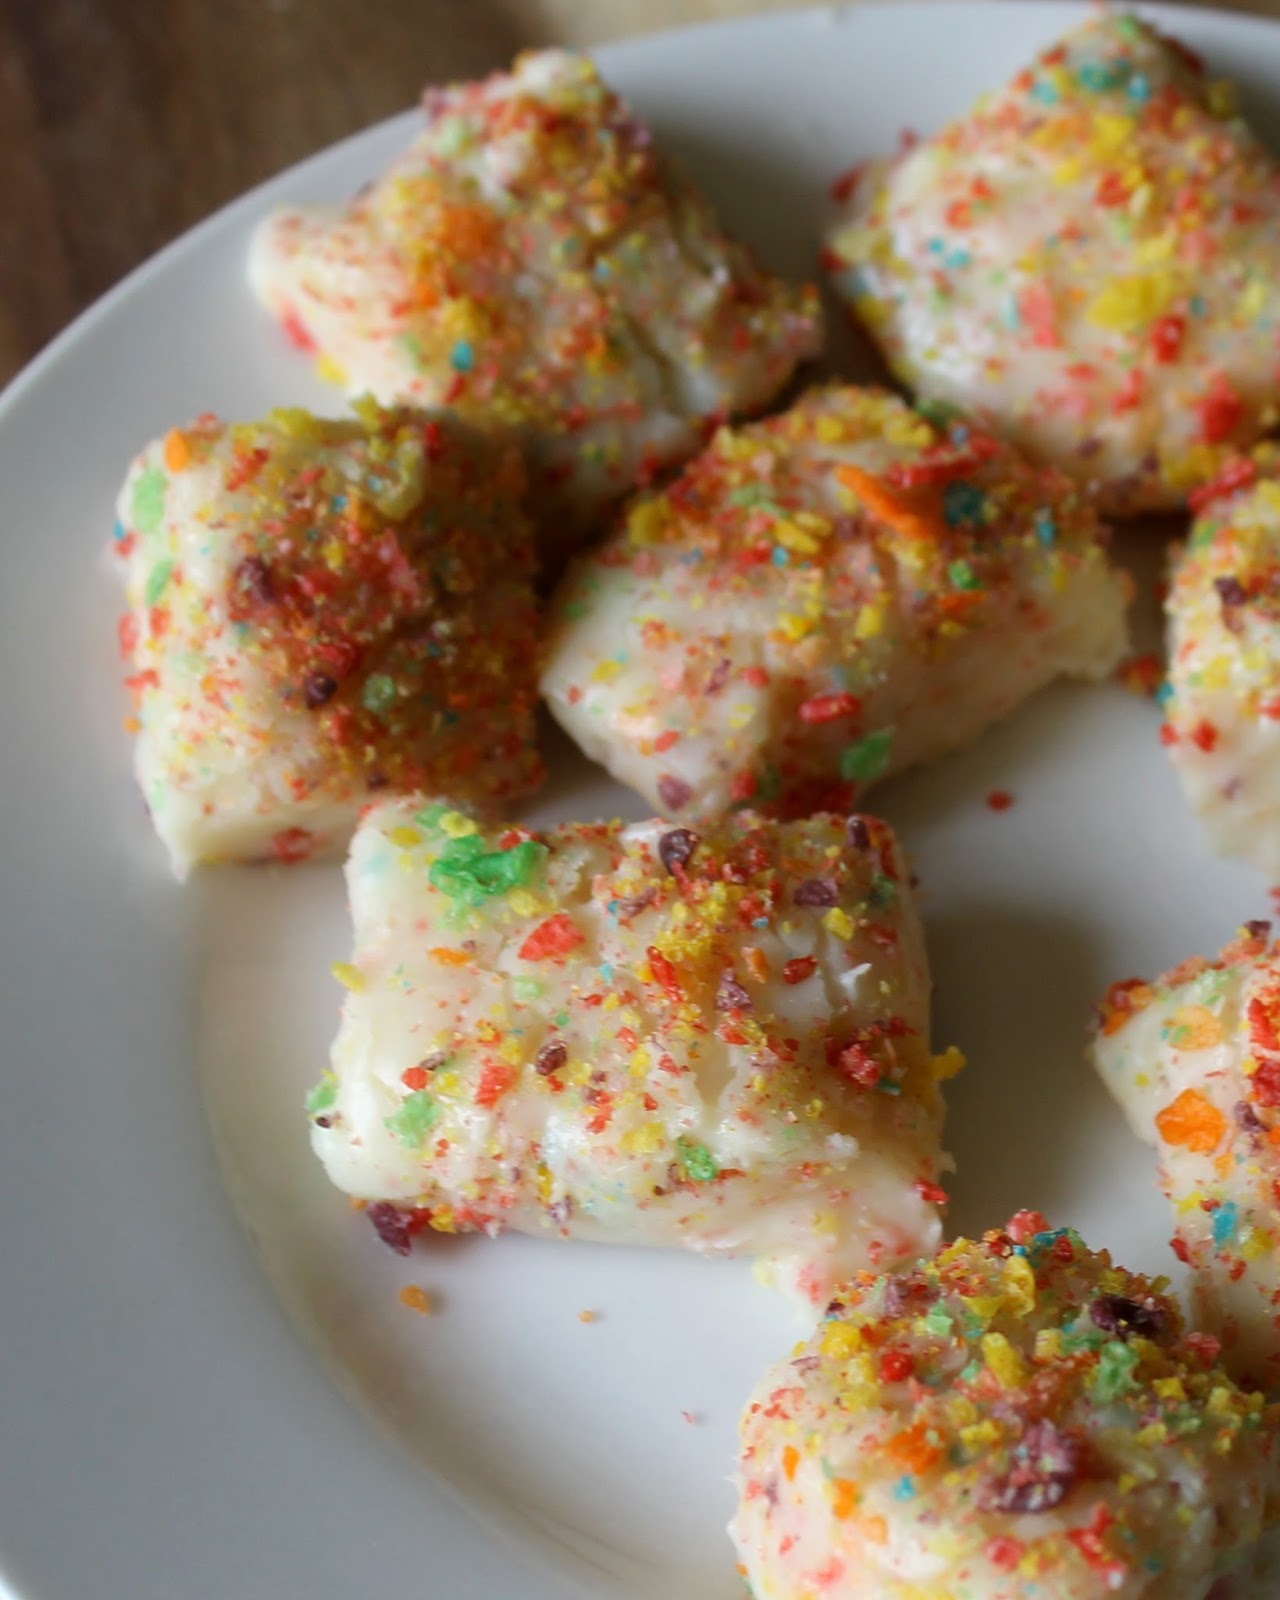
Three Ingredient Fruity Pebbles Fudge

Love Fruity Pebbles? You can have them for more than just breakfast with this easy white chocolate Fruity Pebbles fudge!

This fudge only takes three ingredients and is delicious! It is the perfect, tasty treat for kids and adults alike.

I wasn't sure exactly how it would taste of if I would even enjoy it when I first came up with the recipe, but I really like it. The white chocolate mixed with the fruity pebbles gives this fudge a really interesting, unique and delicious taste. I'm happy I made it, and I think you will be, too!


White Chocolate Fruity Pebbles Fudge
  • 1 1/2 Cups White Chocolate Chips
  • 1/2 Can, 7 oz., Sweetened Condensed Milk
  • 1/2 Cup Fruity Pebbles
  1. Line a loaf pan with parchment paper or foil (if foil, grease lightly.)
  2. Measure the Fruity Pebbles into a sandwich or storage bag and close the seal. Crush cereal with a rolling pin.
  3. In a microwave safe bowl, combine the white chocolate chips and sweetened condensed milk. Microwave 20 seconds at a time, stirring, until melted.
  4. Stir in about 2/3 of the Fruity Pebbles.
  5. Pour fudge into the prepared pan, spread out, and sprinkle the remaining Fruity Pebbles on top.
  6. Refrigerate until firm. Slice, and eat. Store leftovers in the fridge.

Enjoy!
-Bethany

Linking up to #FreeFromFridays link party!

Monday, May 29, 2017

Two Ingredient Double White Chocolate Cups

These double white chocolate cups are simple to make, naturally gluten free, and the perfect fun and delicious treat!

I enjoy making treats in my mini muffin tin. The possibilities are endless, and I am always trying something new.

These double white chocolate cups are so easy to make, and they are perfect for all of the white chocolate lovers out there!


Double White Chocolate Cups
  • 1 Cup White Chocolate Chips
  • 1/4 Cup Heavy Whipping Cream
  • 1/2 Cup White Chocolate Chips
  1. Line a mini muffin tin with 12 paper wrappers.
  2. In a microwave safe bowl, add one cup white chocolate. Microwave, stirring every 20 seconds, until melted.
  3. Divide half of the white chocolate between the 12 wrappers, and spread it around the sides. Chill until solid.
  4. In another microwave safe bowl, combine heavy whipping cream and remaining 1/2 cup white chocolate chips. Melt and stir together. Put in the fridge.
  5. Once the white chocolate mixture is chilled, whisk it or beat it until fluffy.
  6. Scoop teaspoons of the white chocolate mixture into the chilled white chocolate cup wrappers. Top with more of the melted white chocolate (reserved from earlier), spreading over tops. 
  7. Chill until solid, remove from wrappers, and eat.
Enjoy!
-Bethany

Monday, May 1, 2017

Inside Out Peanut Butter Cups

These no bake peanut butter cups are made inside out! Fluffy whipped chocolate ganache fills a peanut buttery chocolate shell!

These peanut butter cups are a fun take on the original, and they can be made peanut free using WOWBUTTER or another soy butter!


Inside Out Peanut Butter Cups
  • 1/4 Cup Peanut Butter or WOWBUTTER
  • 1/2 Cup White Chocolate
  • 1/4 Cup Heavy Whipping Cream
  • 1/2 Cup Chocolate Chips
  1. Line a mini muffin tin with 12 paper wrappers.
  2. In a microwave safe bowl, combine peanut butter and white chocolate. Microwave, stirring every 20 seconds, until melted.
  3. Divide half of the peanut butter mixture between all 12 wrappers, and spread it around the sides. Chill until solid.
  4. In another microwave safe bowl, combine heavy whipping cream and chocolate chips. Melt. Put in the fridge for a bit.
  5. Once the chocolate mixture is chilled, whisk or beat it until fluffy.
  6. Scoop teaspoons of the chocolate mixture into the chilled peanut butter cup wrappers. Top with more of the peanut butter mixture, spreading over tops. Chill until solid, remove from wrappers, and eat.
Enjoy!
-Bethany

Monday, March 13, 2017

Four Ingredient Mint Chocolate Fudge

This four ingredient mint chocolate fudge is not only easy, but it is tasty, too! It is the perfect little treat for St. Patrick's Day or any time of the year!

You will love how quick it is to throw this fudge together. It only takes four ingredients, and it comes together in minutes. The hard part is just in waiting for it to set in the fridge!


Four Ingredient Mint Chocolate Fudge
  • 3 Cups Dark Chocolate Chips
  • 1 Can Sweetened Condensed Milk
  • 1 teaspoon Vanilla Extract
  • Andes Creme De Menthe Thins
  1. Line an 8x8 baking dish with foil or parchment paper.
  2. In a microwave safe bowl, combine chocolate chips and sweetened condensed milk. Microwave 30 seconds at a time, stirring, until melted. Stir in vanilla.
  3. Pour fudge into pan and spread out.
  4. Unwrap as many Andes mints as you would like to use and chop them up. Press all over the top of the fudge.
  5. Refrigerate fudge until firm, then slice and eat. Keep leftovers in the fridge.

Enjoy!
-Bethany

Linking up to Sunday Fitnesss and Food Link-Up found here and here.

Tuesday, February 7, 2017

Crunchy M&M Peanut Butter Cups

There is just something about a peanut butter cup... all of the chocolate and the peanut butter together in one little bite size treat... and these are even better than your average peanut butter cups! They are made with M&Ms and crunchy rice cereal, giving them a unique and pleasing texture!

These crunchy M&M peanut butter cups can easily be made peanut free using WOWBUTTER soybutter. That is what I used for them. And they are so delicious, either way!


Crunchy M&M Peanut Butter Cups
  • 1/4 Cup Peanut Butter or WOWBUTTER
  • 1/4 Cup Powdered Sugar
  • 1/4 Cup Crisp Rice Cereal
  • 2 Tablespoons Mini M&Ms
  • 1 Cup Chocolate Chips
  1. Melt chocolate in the microwave 20 seconds at a time, stirring, until smooth.
  2. Line a mini muffin tin with 12 paper wrappers and spoon a bit of the chocolate into each, reserving half of it for later. Spread the chocolate around each cup (I find that a clean finger is the best tool for the job.) Refrigerate until solid.
  3. In a small bowl, combine peanut butter, powdered sugar, cereal, and mini M&Ms. Stir until mixed well.
  4. Spoon heaping teaspoonfuls into each of the chocolate cups, pressing down.
  5. Use remaining melted chocolate to cover the tops of each. Refrigerate until solid, then remove from wrappers and eat.

Enjoy!
-Bethany

Linking up to Sunday Fitness and Food Link-Up found here and here.

Tuesday, December 27, 2016

Salted White Chocolate Peanut Butter Cups

These white chocolate peanut butter cups couldn't be any easier! They are fun and tasty, too, and perfect for sharing or eating alone.

These would make a great New Year's Eve treat! They are gluten free, and they can easily be made peanut free, too, by using WOWBUTTER soybutter.


Salted White Chocolate Peanut Butter Cups
  • 1/2 Cup Peanut Butter or Soy Butter (I used WOWBUTTER)
  • 2 Tablespoons Butter, softened
  • 1/2 Cup Powdered Sugar
  • 1 and 1/2 Cup White Chocolate Chips
  • Salt
  1. Line 24 holes of a mini muffin tin with paper wrappers.
  2. Melt 3/4 cup chocolate chips and put a bit in each of the holes, using your fingers (wash hands first) to spread the chocolate over the bottom and halfway up the sides. Stick pan into the fridge when done.
  3. In a medium size bowl, combine the soy butter, cutter and powdered sugar, stirring until smooth. 
  4. Once chocolate is cooled, add a bit of the soy butter mixture to each hole, dividing it evenly between them.
  5. Melt the remaining 3/4 cup chocolate chips and spread over the top of each. Refrigerate until firm. 
  6. Remove and take wrappers off of each of them. Eat immediately or store in the refrigerator.

Enjoy!
-Bethany

Linking up to Allergy Free Thursdays. 

Monday, December 19, 2016

Easy Caramel Pretzel Fudge

This caramel pretzel fudge has everything that you could want in a good dessert - sweet caramel, rich chocolate, and some crunchy, salty pretzels thrown in. 

Another fudge recipe... what can I say? There are just so many things that can be done with it. And there are so many delicious varieties to eat. Yum. I can't get enough of this stuff.

Also, who's with me in thinking that it's crazy that Christmas is less than a week away?! I have to get baking. Like, now.


Caramel Pretzel Fudge
  • 1/2 Can Dulce de Leche
  • 1 1/2 Cup White Chocolate Chips
  • 1/2 Cup Semi-sweet chocolate chips
  • 1/4 Cup Heavy cream
  • A handful of gluten free pretzels
  1. In a microwave safe bowl, combine the dulce de leche and white chocolate chips. Microwave 20 seconds at a time, stirring, until melted.
  2. Pour into a pan that has been lined with parchment paper, or greased foil.
  3. Chop a handful of gluten free pretzels and sprinkle over the top of the fudge, pressing in slightly.
  4. Put the chocolate chips in a heat-safe bowl. Heat the heavy cream just until it boils, then pour over the chocolate chips. Stir until smooth.
  5. Pour the chocolate over the top, then pop the fudge into the fridge. Cool until solid, slice, and enjoy. Best eaten soon after making, while the pretzels still have a crunch to them.
Enjoy!
-Bethany

Linking up to Allergy Free Thursdays.

Monday, November 28, 2016

Triple Chocolate Peanut Butter Fudge

Fudge made with semi-sweet chocolate chips with a white chocolate and peanut butter layer on top, and mini M&Ms sprinkled all over that... does it get any better?

Fudge is such a great treat to make at Christmastime, or any time of the year. I have gotten into the tradition of making several (over 10) varietiess of fudge a year to bring over to my parents' house for Christmas. It is fun trying the various recipes that are out there, and I also love making up some of my own. Here is my Triple Chocolate Peanut Butter Fudge. I'm sure you and your family will love it!

Here are all of the ingredients that you need to make it...

Yum!

And here it is all ready to eat!


Triple Chocolate Peanut Butter Fudge
  • 1 1/2 Cup Semi-Sweet Chocolate Chips
  • 1/2 Can (7 oz., or 1/2 cup) Sweetened Condensed Milk
  • 1 teaspoon Vanilla Bean Paste or Extract
  • 1/4 Cup Peanut Butter
  • 1/2 Cup White Chocolate
  • 1/4 Cup Mini M&Ms
  1. In a microwave safe bowl, combine semi-sweet chocolate chips and sweetened condensed milk. Microwave for 20 seconds, stir, and microwave for an additional 15 seconds at a time until all melted.
  2. Add the vanilla, stir, and quickly pour into a 9x5 loaf pan lined with parchment paper. Spread out.
  3. In another microwave safe bowl, combine peanut butter and white chocolate. Microwave 15 seconds at a time, stirring, until melted.
  4. Pour peanut butter mixture over chocolate fudge and sprinkle M&Ms all over the top.
  5. Refrigerate until firm. Cut. Serve. Keep leftovers refrigerated.
Enjoy!
-Bethany

Linking up to Allergy Free Thursdays.

Monday, November 7, 2016

Gluten Free "Oreo" Cookie Dough Truffles

If you love all things Oreo, then you are going to enjoy these gluten free "Oreo" Cookie Dough Truffles! They are made with dark cocoa and have a great Oreo flavor. The truffles are coated in white chocolate, which adds to the goodness.

I have had so much fun using the dark cocoa in a ton of recipes lately, and these are one of my favorite recipes that I've made with it.


Gluten Free Oreo Cookie Dough Truffles
  • 1/2 Cup Butter, softened
  • 2/3 Cup Sugar
  • 1/3 Cup Brown Sugar
  • 1 teaspoon Vanilla Extract
  • 1 1/3 Cup White Rice Flour
  • 1/3 Cup Dark Cocoa Powder
  • 1/4 teaspoon Salt
  • 2 Tablespoons Milk
  • 2 to 3 Cups White Chocolate Chips
  1. In a large bowl, mix together the butter and sugars. Add vanilla and mix again.
  2. Add the dry ingredients and mix, then add the milk and stir until combined.
  3. Shape into small truffles, place on a wax paper lined baking sheet and freeze for a half hour.
  4. Melt chocolate chips and coat truffles, refrigerating until firm.
  5. Keep refrigerated.
Enjoy!
-Bethany

Linking up to Allergy Free Thursdays.

Monday, October 17, 2016

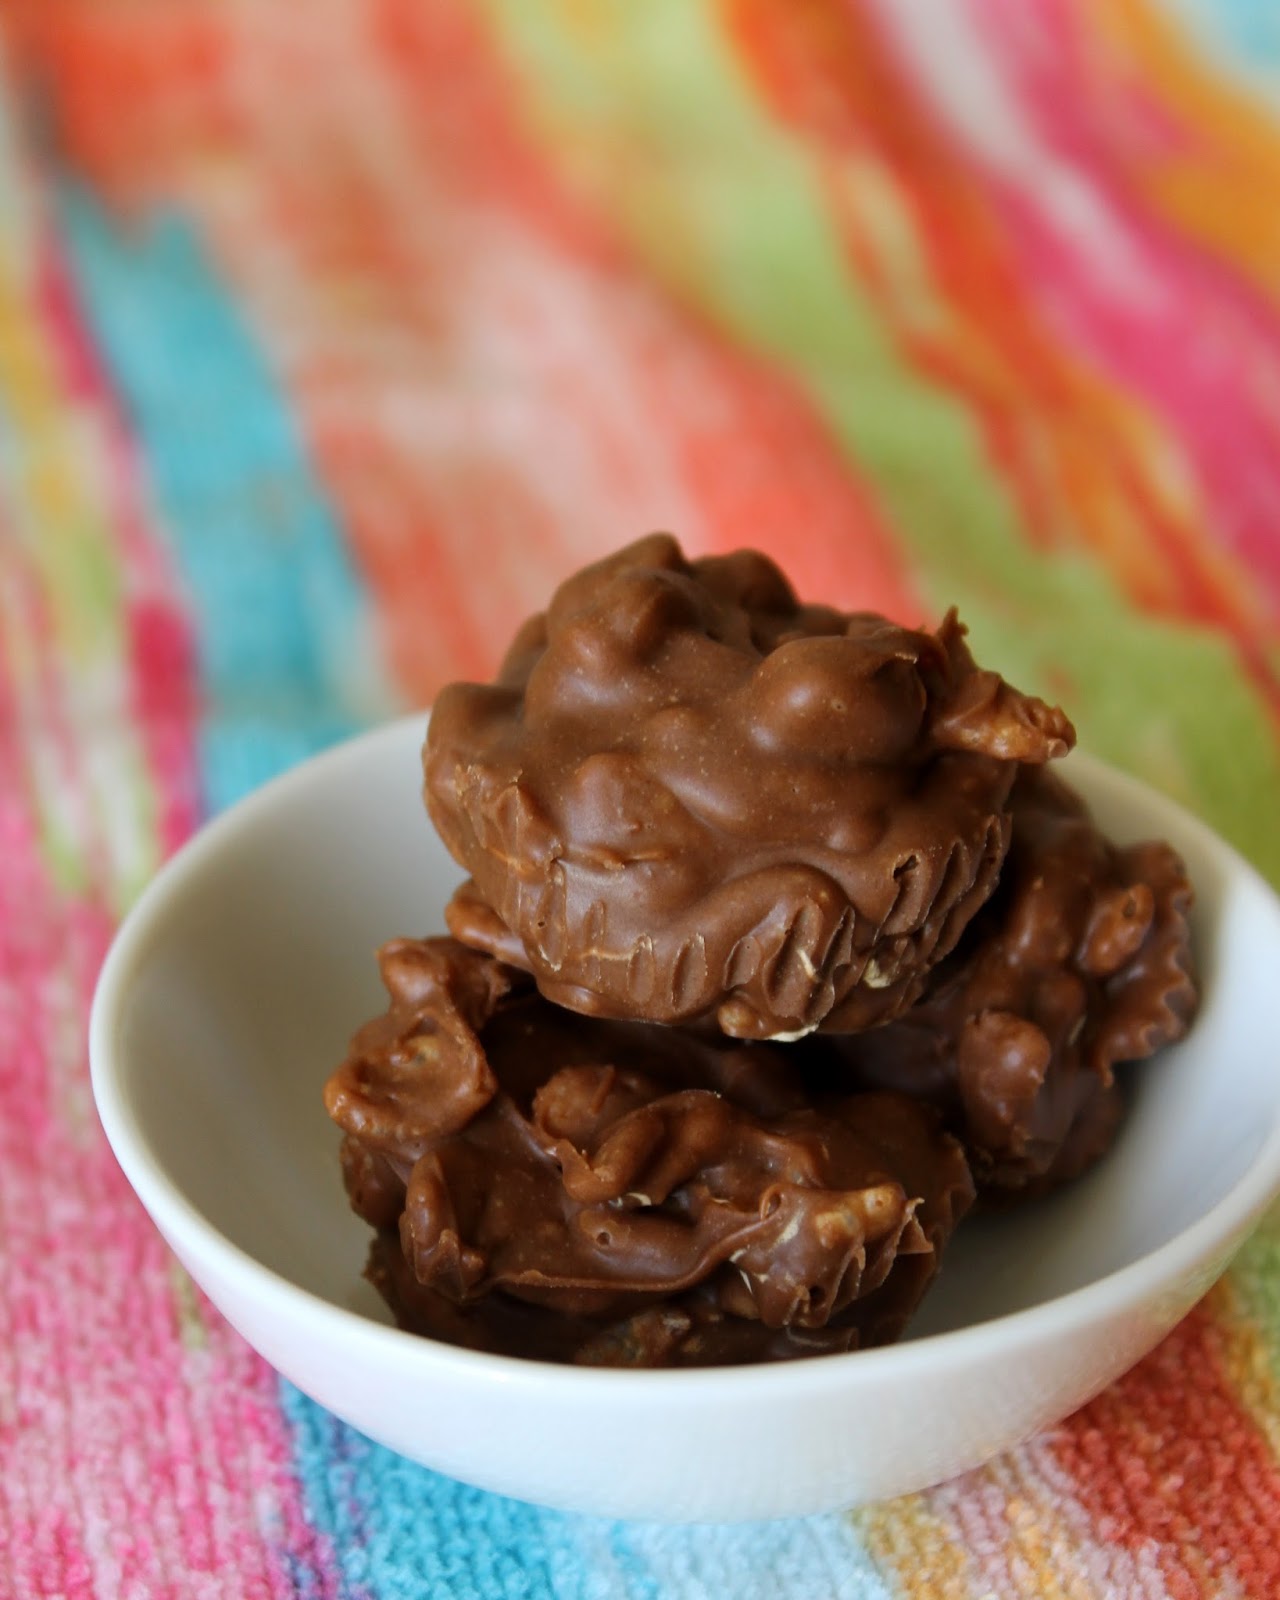
No Bake Chocolate "Scotcharoo" Cups

Do you love Scotcharoos? Do you love chocolate? Does the combination of peanut butter, chocolate, and butterscotch sound like the best thing ever? If so, then you need to try these Chocolate "Scotcharoo" Cups.

These gluten free candies are easy to make. All that you need to do is to melt the chips and peanut butter together, and then add some crispy rice cereal to the mixture. They are made in a mini muffin tin, and they are the perfect bite size treats!

These little treats are perfect for holidays, for sharing with friends and family, or for snacking on by yourself. They are simple enough to make for any occasion, or for any time you are craving something sweet.


No Bake Chocolate "Scotcharoo" Cups
  • 1/2 Cup Semi-Sweet Chocolate Chips
  • 1/2 Cup Butterscotch Chips
  • 1/2 Cup Peanut Butter (or soybutter. I used WOWBUTTER)
  • 1 Cup Crispy Rice Cereal
  1. In a microwavable bowl, combine chocolate chips, butterscotch chips, and peanut butter. Microwave 20 seconds or so at a time, stirring, just until melted.
  2. Stir in crispy rice cereal.
  3. Line a mini muffin tin with 24 paper wrappers. Divide mixture between them.
  4. Refrigerate until firm, then serve. Keep leftovers refrigerated.
Enjoy!
-Bethany

Linking up to Allergy Free Thursdays.

Monday, August 29, 2016

Coconut Joys

For as long as I can remember, my family has been making these coconut joy candies at Christmastime. We've always been big on making treats at that time of year, and my brother and I used to always make these together. They are buttery and rich with just the right amount of coconut and chocolate flavor.

Now that I'm older, and no longer eat coconut, I haven't made these in a while. But they are still a great recipe, and anyone who enjoys coconut is going to love them! Make them for the holidays, or make them any other time of the year. You and your family will like these special treats, no matter when you have them.


Coconut Joys
  • 1 1/2 Cup Coconut
  • 1 Cup Powdered Sugar
  • 1/4 Cup Butter, melted
  • 2 Tablespoons Chocolate Chips
  1. In a medium size bowl, add coconut, powdered sugar and melted butter. Stir together.
  2. Line a baking sheet with parchment paper and scoop small amounts of coconut mixture into the hand. Roll into balls, making an indent in the center of each.
  3. Melt chocolate chips and add a bit to the center of each candy.
  4. Store in the refrigerator or freezer.
Enjoy!
-Bethany