Wednesday, November 26, 2014

Recipe: Easy Gluten Free Parfait

If you are still frantically looking for a gluten free dessert to make for Thanksgiving tomorrow, I have the quick and easy solution for you.
I considered making a pie, but since I don't bake with eggs, and since gluten free pie crusts can be complicated, I couldn't make up my mind if it was worth the work. So, finally, I settled on making these super simple gluten free parfaits. I can't wait to dig into one of them tomorrow.


Easy Gluten Free Parfait
  • 1 Box Vanilla Pudding
  • Rice Chex, crushed
  • 1 teaspoon Sugar
  1. Make the pudding according to box directions.
  2. Crush as many rice Chex as you'd like to fill your cups with, and add the sugar.
  3. Spoon the crushed Chex into cups and then add the pudding, topping with whipped cream if you desire.

Happy Thanksgiving, everyone!
-Bethany


Sunday, November 23, 2014

Recipe: Gluten Free/Egg Free Bagels

One of the first successful gluten free recipes that I ever tried, these bagels are fairly simple to make, and they are chewy and delicious!


Gluten Free/Egg Free Bagels
  • 3 Tablespoons Water
  • 1 Tablespoon Flaxseed Meal
  • 1/3 Cup Warm Water
  • 2 Tablespoons Sugar
  • 1 teaspoon yeast
  • 2 Tablespoons Oil
  • 1/2 Cup Brown Rice Flour
  • 2/3 Cup Tapioca Starch
  • 2 Tablespoons Potato Starch
  • 1 1/4 teaspoon Xanthan Gum
  • 1/2 teaspoon Salt
  1. Heat the 3 Tablespoons of water in the microwave and add to it the flaxseed meal. Let sit for 10 minutes.
  2. In another small, microwave safe bowl heat 1/3 cup water just until warmed but not too hot to kill the yeast. Add yeast and sugar and set aside for 5 minutes.
  3. Meanwhile, in the bowl of a stand mixer combine starches, rice flour, xanthan gum and salt.
  4. Go back to your liquid ingredients and add the flax-egg and the oil to the yeast mixture.
  5. Add the liquids to the dry ingredients and mix on low until combined. Turn mixer to medium and mix for 2 to 3 minutes more.
  6. Pipe or spoon batter onto a parchment lined baking sheet, using wet hands to form your bagels (I just put a circle on the sheet and then make the hole in the center with my wet fingers).
  7. Let rise for about half an hour. They will look a bit puffier, but don't expect them to double in size.
  8. Preheat oven to 350 degrees. Bake for 20 to 25 minutes. Cool, cut in half and eat or freeze for later.


Hope you're having a great Sunday, everyone!
-Bethany


Wednesday, November 19, 2014

Recipe: The Best Gluten Free Vanilla Cake

This is the best gluten free vanilla cake.

When I found this recipe and tried it out for the first time, I knew that my search was over. There was no reason for me to consider trying another gluten free vanilla cake recipe. Ever. 

This. Is. The. One.

This cake is light and fluffy and delicious. You won't even be able to tell that the gluten and eggs are missing.


The Best Gluten Free Vanilla Cake
  • 1 Cup Unsalted Butter, softened
  • 2 Cups Sugar
  • 4 Tablespoons Flaxseed Meal
  • 3/4 Cup Hot Water
  • 2 teaspoons Vanilla Extract
  • 1 1/2 Cup Hot Milk
  • 1 3/4 Cups White Rice Flour
  • 3/4 Cup plus 2 Tablespoons Cornstarch
  • 3/4 Cup plus 2 Tablespoons Tapioca Starch
  • 1 Tablespoon plus 1 teaspoon Baking Powder
  • 1 teaspoon Salt
  • 1 teaspoon Xanthan Gum
  • 1 teaspoon Baking Soda
  1. Preheat oven to 350 degrees.
  2. Heat 3/4 cup water and add in the flaxseed meal. Set aside for about ten minutes.
  3. In a medium bowl whisk together all of the dry ingredients.
  4. In a large bowl cream together butter and sugar for five minutes, until light and fluffy.
  5. Add a bit of the flaxseed mixture at a time, with the mixer on, then add the vanilla and beat until fluffy again.
  6. Add in half of the dry ingredients and blend. Then add half the wet and blend again. Repeat, and then beat it all together for about two minutes.
  7. Pour batter into two 9x9 pans and bake for about 35 minutes, or until toothpick comes out clean. Cool for twenty minutes in the pan before moving to a cooling rack.


This cake is seriously the best gluten free vanilla cake out there. But don't take my word for it... make it and see for yourself!
-Bethany

Monday, November 17, 2014

Recipe: Easy Homemade Taquitos

I first made these a couple of months ago, as I am always on the lookout for new Mexican dishes, and they were an instant hit! 
They are super crunchy and delicious and they are a great, different way to eat your corn tortillas.


Flautas
  • Tortillas
  • Cooking Spray
  • Filling (whatever filling you'd like)
What we like to use:
  • Black Beans
  • Corn
  • Red Onion, finely chopped
  • Garlic, minced
  • Cheddar Cheese, grated
  • Taco Seasoning
Make a big batch of this mix, using as much or little of each ingredient as you like, and freeze any leftovers for later (it's also amazing on polenta pizza!).
  1. Preheat the oven to 425 degrees.
  2. Place a cooling rack on top of a baking sheet (that's big enough to hold it).
  3. Wrap a moistened paper towel around a few tortillas and microwave for about 30 seconds. 
  4. Take the softened tortillas, spray one side with cooking spray, and place a couple spoonfuls of filling inside, then roll and place on the rack, securing with a toothpick or two. Repeat until all the tortillas have been used.
  5. Bake in the preheated oven for about 15 minutes, then turn to broil and let them in for one more minute.
  6. Serve with sour cream and enjoy!
Directions in how to make them is thanks to this recipe.

-Bethany


Sunday, November 9, 2014

Recipe: The Easiest Gluten Free Breadsticks

Do you love a good breadstick? Do you think that you have to give them up because you went gluten free?
You don't.
These breadsticks are soft and chewy and super easy and quick to throw together. I have made them countless times since finding the recipe and I am craving one just writing about them. Mmm... 
Dipped in a marinara sauce, served as a side with spaghetti... these are amazing! 


The Easiest Gluten Free Breadsticks
  • 1 1/2 teaspoon Yeast
  • 3/4 Cup Warm Water
  • 1/2 teaspoon salt
  • 1 1/2 teaspoon sugar
  • 1 Cup Rice Flour
  • 1/2 Cup Tapioca Starch
  • 1/2 Cup Cornstarch
  • 1 1/2 teaspoon Xanthan Gum
  1. Preheat oven to 450 degrees.
  2. Heat the water in a large, microwave safe bowl until warm but not too hot. Add in the yeast, stir, and set aside for a minute.
  3. In a medium bowl mix together rice flour, starches and xanthan gum.
  4. Into the yeast mixture add the salt and stir. Then add the sugar and stir again.
  5. Add the flour mixture to the large bowl and stir together, adding a bit more rice flour if necessary, then knead together.
  6. Shape into breadsticks (6 to 10) and place on a greased baking sheet. Bake for 10 to 12 minutes. Enjoy!
The awesome recipe is found here.


-Bethany

Friday, November 7, 2014

Recipe: Gluten Free Cookie Dough Truffles

I love how recipes bring back memories. Whether of family, of laughter, of a time back when you were a child... or just a peaceful moment in the kitchen a couple of years ago. Memories are made when there is baking going on in the kitchen, and for me, making these cookie dough truffles just brings me back to brainstorming ideas for a new story and snitching a bit (okay, a lot) of dough along the way.


Gluten Free Chocolate Chip Cookie Dough Truffles
  • 1/2 Cup Unsalted Butter
  • 1/2 Brown Sugar
  • 1/4 Cup Sugar
  • 2 Tablespoons Milk
  • 1/2 Teaspoon Vanilla Extract
  • 1/2 Teaspoon Salt
  • 1 1/4 Cup White or Brown Rice Flour
  • 1/2 Cup Mini Chocolate Chips (I have done without the chocolate chips and they are good, too!)
  1. In a large bowl beat butter and sugars. 
  2. Add milk and vanilla extract and mix again
  3. Then add the rice flour and salt and mix.
  4. And, finally, add the chocolate chips and mix once more.
  5. Scoop teaspoonfuls and roll into balls, placing on a wax lined baking sheet. Place in the freezer for half an hour or so.
  6. Meanwhile, melt some chocolate in a bowl (about two cups should do it) and once the balls have frozen for at least half an hour dip them and put them back on the wax lined sheet.
(makes about two dozen or so, depending on how much dough you eat)
Adapted from this recipe.


-Bethany

Wednesday, November 5, 2014

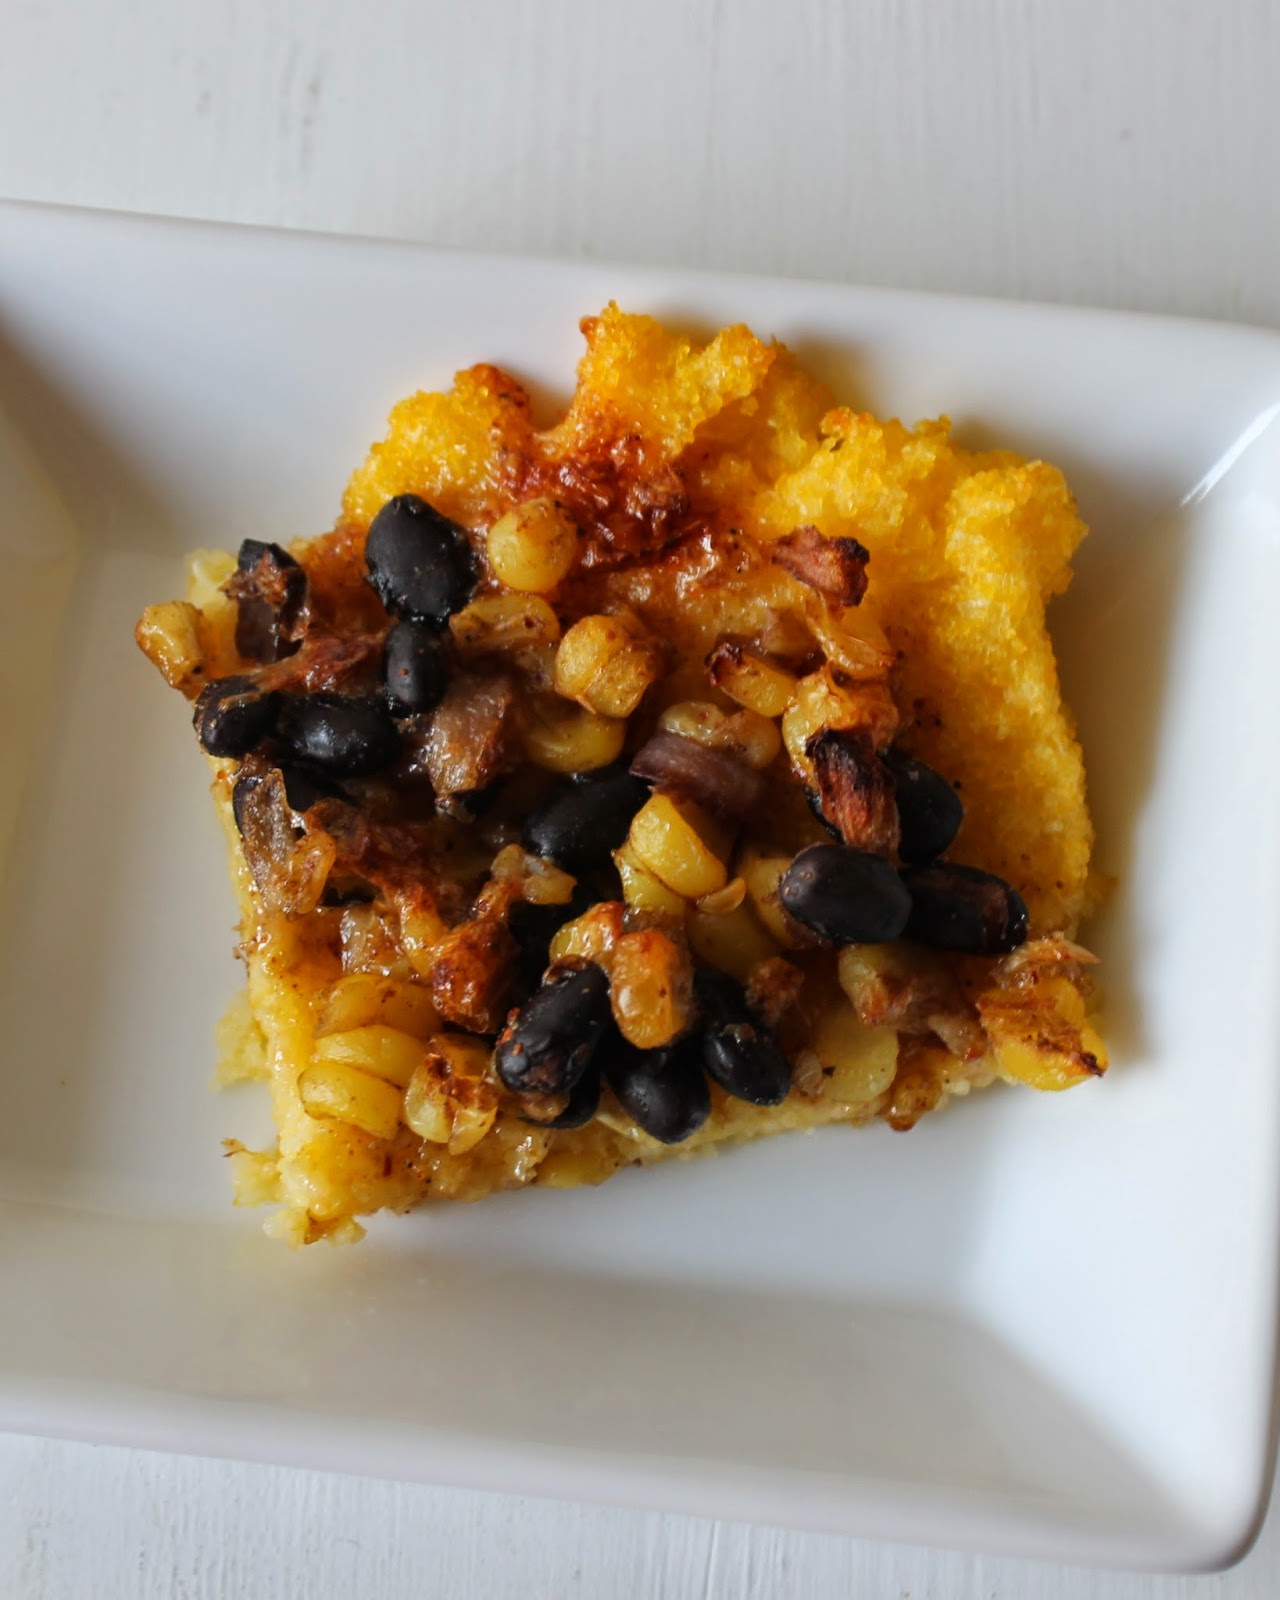
Recipe: Polenta Pizza

To be honest, the first time that my sister made this recipe, I was a bit skeptical. I mean, pizza is pizza, right? Who wants a polenta crust. I thought that it wouldn't be any good.
But, I was wrong. Totally and completely wrong.
This stuff is amazing and just another great way to eat my favorite Mexican toppings! I love it.


Polenta Crust
  • 1 Cup Gluten Free Polenta
  • 1/2 Cup Milk
  • 2 1/2 Cups Water
  1. In a medium saucepan combine the water and milk. Bring to just about a boil and turn to medium heat. Whisk while adding the polenta in a steady stream.
  2. Turn the heat to low and whisk occasionally for about 10 to 15 minutes, until the consistency is that of oatmeal.
  3. Grease a baking sheet and spread out the polenta as thick or thin as you would like your crust to be. Chill in the fridge 30 minutes.
  4. Preheat oven to 450 degrees.
  5. Top your polenta crust (suggestions below) and bake for about 20 minutes, or until just beginning to brown around edges.

Mexican Toppings:
  • Black Beans
  • Corn
  • Red Onion
  • Chedder Cheese
  • Taco Seasoning (make sure it's gluten free) 
Mix together toppings and spread it all out over the prepared crust. You can put salsa on the crust beneath the toppings for added flavor, if desired.
Original recipe found here.


I hope you give it a try! You won't regret it, I promise. :)
-Bethany

Linking up to The Weekend Potluck.

Monday, November 3, 2014

Recipe: No Machine Chocolate Ice Cream

This amazing recipe comes from Gluten Free on a Shoestring. If you haven't heard of the blog, I highly recommend checking it out. There are a ton of gluten free recipes on there, and they are great!

And this one... wow. It is one of the best chocolate ice creams I have ever had.


Homemade Chocolate Ice Cream
  • 2 Cups Heavy Whipping Cream 
  • 1 Can Sweetened Condensed Milk, minus 1/4 Cup 
  • Chocolate Syrup (recipe below) 
  • 1 teaspoon Vanilla Extract 
Chocolate Syrup
  • 3/4 cup Sugar 
  • 6 Tablespoons Cocoa Powder 
  • 1/8 teaspoon Salt 
  • 1/4 Cup Water 
  • 1/2 teaspoon Vanilla Extract 
Syrup Directions
  1. In a medium size, heavy bottomed saucepan, place the sugar, cocoa powder, salt, water and vanilla extract, whisking until combined. 
  2. Cook over medium heat, stirring occasionally, until the sugar crystals are dissolved and it has just started to thicken. 
  3. Remove from heat and pour into a heatproof bowl, setting aside until cooled. 
Ice Cream Directions
  1. Beat whipping cream in the bowl of a stand mixer until soft peaks form. 
  2. Add sweetened condensed milk, vanilla and salt to the syrup and mix together. 
  3. With the beaters running, slowly pour in the syrup mixture, beating until fully incorporated. 
  4. Fold in mixing if you are using any. 
  5. Freeze (minimum of four hours), serve and enjoy!
I have tried the original recipe with brownie dough, and also tried these add-ins; cookie dough, homemade marshmallow pieces, and chocolate sandwich cookies. I'm excited to try many more in the future! This ice cream is, like, seriously the best chocolate ice cream ever.
-Bethany